
yey’maps uses project settings’ pages to help users portray their map or project in the best possible way. The Project Settings page is divided into six distinct sections: Base Settings, Global Settings, Tool Settings, Layer Settings, Sharing, and Publishing. In this article, we’ll take an in-depth look at each of these sections, highlighting their significance in crafting the perfect map project. Whether you’re creating a map for research, visualization, or storytelling, these settings enable you to fine-tune every detail, ensuring your maps convey your message effectively. With its intuitive interface and comprehensive customization options, yey’maps sets the stage for limitless creativity in the world of cartography and GIS. Below we will go over each section of the Project Settings to ensure you are effectively producing your best project.
Base Settings
The Base Settings section serves as the foundational layer upon which your map project is built. Here, you have the power to configure essential project details:
- Project Title: Give your project a name that encapsulates its purpose and essence.
- Projection: Alter the map’s projection to best suit your needs, whether it’s for regional analysis or global perspective.
- Default Base Map: Tailor the visual backdrop of your map by selecting a base map that complements your project’s theme.
- Preference Interface: Choose how your project opens, whether it’s the map interface or a specific module or tool interface.
- Description: Provide a comprehensive overview of your project’s purpose and objectives.
- Copyright: Customize copyright text and decide whether to display it on the map’s interface or when printed.

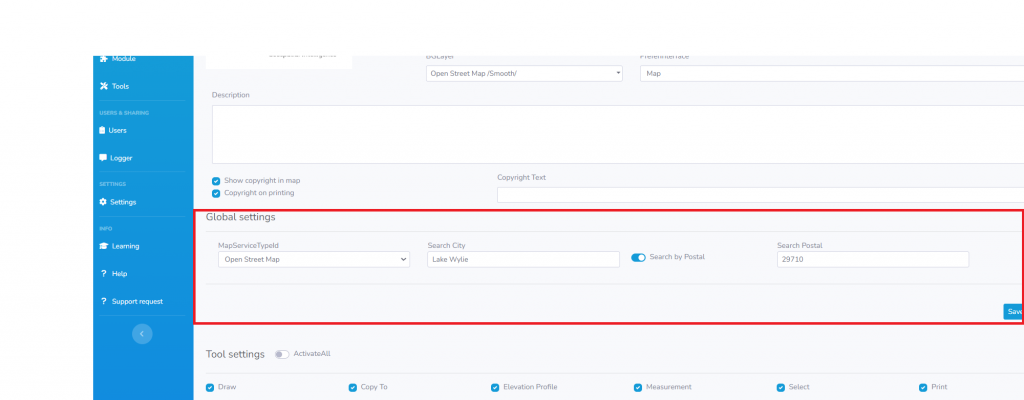
Global Settings
Global Settings help you refine the spatial context of your project:
- Map Service Type: Modify the map service type to align with your data source or thematic focus.
- Search Area Limitation: Define a specific city or zip code to limit search results, streamlining the user experience.
Tool Settings
In Tool Settings, you wield control over the tools that will be at your disposal within the project:
- Select Activated Tools: Cherry-pick from the activated tools the ones that are most relevant to your project, ensuring a clutter-free workspace.
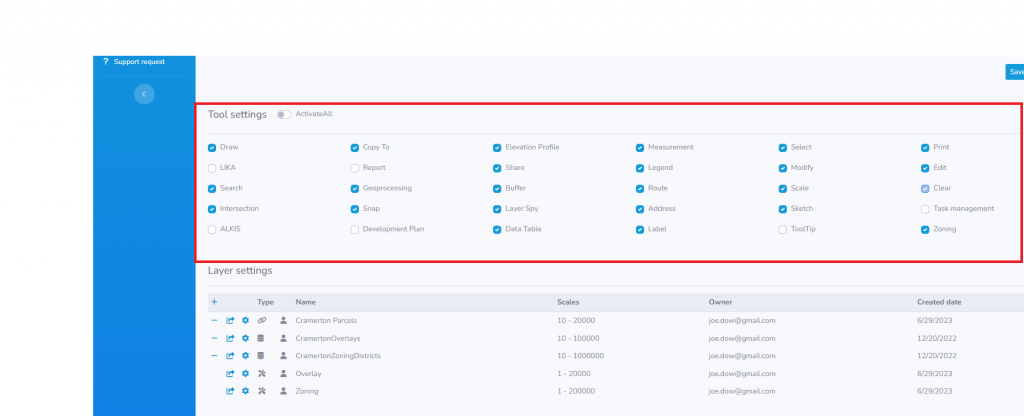
Layer Settings
- Add Individual Layers: Populate your project with a rich array of individual layers, each representing a unique aspect of your data.

Layer Groups Settings
- Add Layer Groups: Group related layers together, simplifying navigation and enhancing the clarity of your map project.

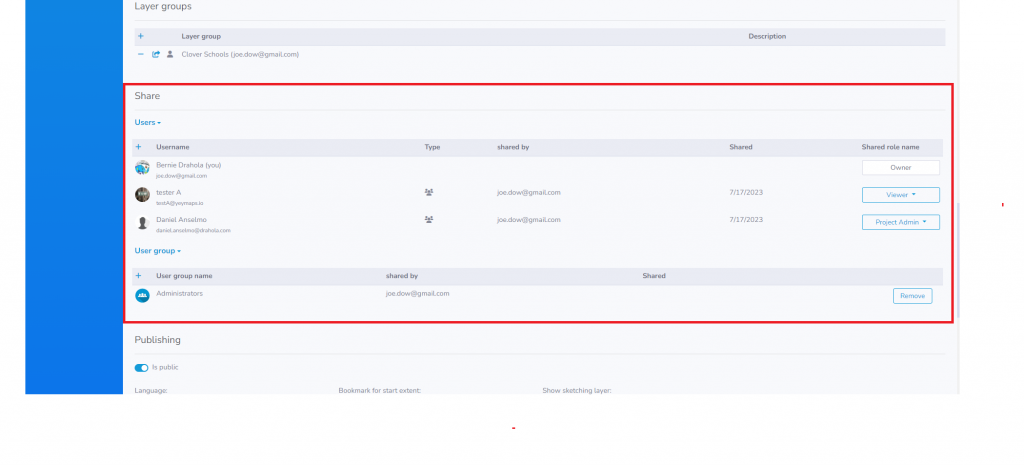
Sharing Settings
Sharing Settings allow you to collaborate and disseminate your project with others:
- Add Users and User Groups: Invite users or user groups to collaborate or view your project, granting access based on their user roles.
Publishing Settings
The Publishing Settings section is the final step in your journey to create a compelling map project:
- Publish as a URL: Share your project with the world by publishing it as a URL.
- Customize URL: Choose the language, bookmark for the starting extent, determine whether to display an associated sketch layer, and select the interface type you wish to showcase.
- Disclaimer Text: Include any necessary disclaimer text to provide context or legal information.
- Select Tools: Decide which tools should be available in the published map, tailoring the user experience to your project’s requirements.
