yey’maps, a cutting-edge mapping tool, empowers users to explore and analyze spatial data with remarkable ease. Among its powerful features is the Layer Tree, a versatile interface that allows users to efficiently manage and customize layers within their maps. In this article, we will delve into the various buttons present in yey’maps’ Layer Tree and provide a step-by-step guide on how to use them effectively.

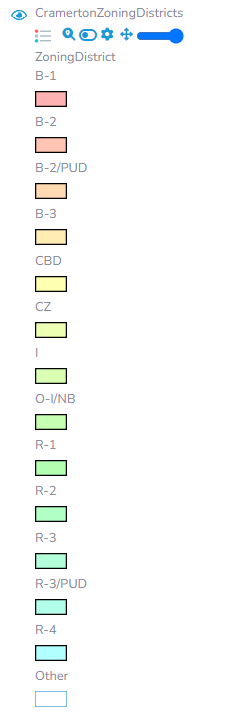
Layer Legend Button

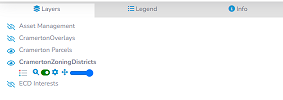
Under each layer in the Layer Tree, you’ll find the Layer Legend icon represented by a small key symbol. By clicking on this icon, users can access a pop-up window that displays how the layer is symbolized. This feature is invaluable when dealing with complex datasets or thematic maps, as it clarifies the meaning behind symbols and colors, aiding accurate data interpretation.
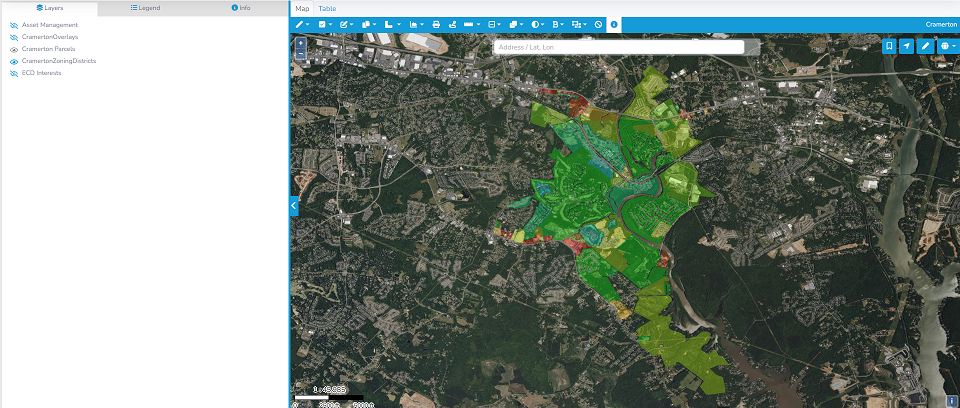
Zoom To Button

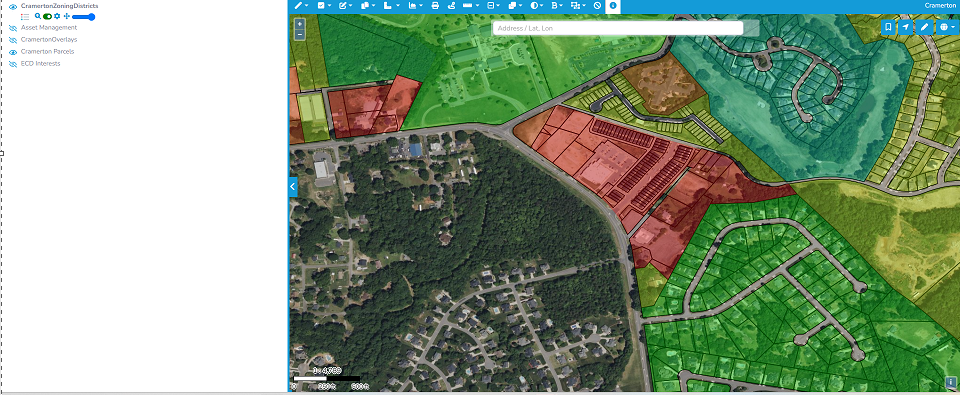
The Zoom To icon is easily recognizable by its magnifying glass symbol and is located alongside each layer in the Layer Tree. Clicking on this icon seamlessly adjusts the map’s extent to fit the boundaries of the selected layer. The Zoom To feature enables users to focus on specific layers’ details without the need for manual zooming or panning.
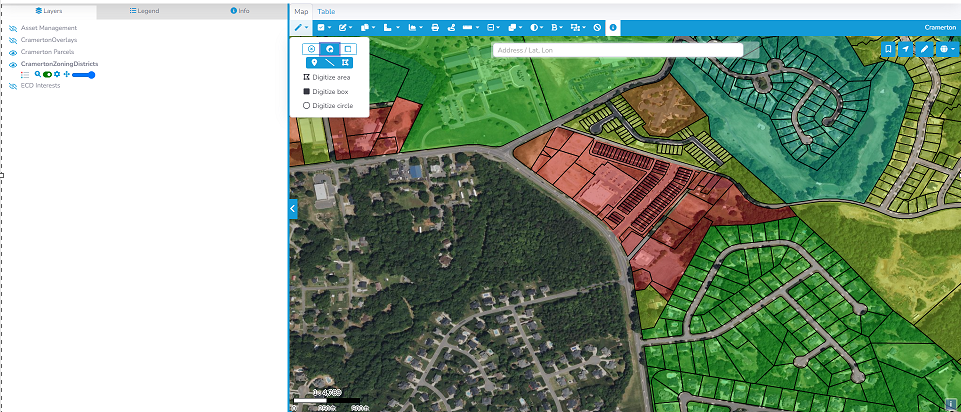
Activate Button

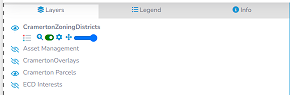
Next to each layer in the Layer Tree, you’ll find the Activate icon, depicted as a radio button. Activating a layer grants you access to the tools associated with that specific layer. You will know the layer is active when the radio button turns green. Once activated, users can use various tools, such as drawing tools, editing features, or spatial analysis tools. This function streamlines the workflow, allowing users to work on specific layers while temporarily hiding or deactivating others.
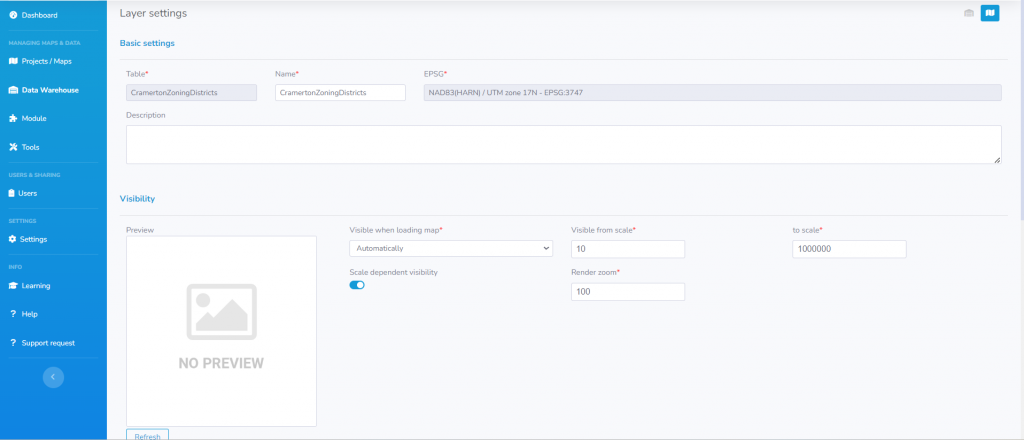
Settings Button

Identified by its gear or cogwheel symbol, the Settings icon can be found beside each layer in the Layer Tree. Clicking on this icon leads users to a dedicated settings page for that specific layer. Within this page, you can customize various aspects of the layer, including its symbology, labeling, transparency, and data source properties. This level of customization ensures that the layer’s appearance and behavior align with your mapping objectives.
Drag Button

The Drag icon, represented by a handle or drag symbol, sits alongside each layer in the Layer Tree. Utilizing this icon allows users to take advantage of the drag-and-drop functionality, enabling them to easily reorder the layers displayed on the map. By simply clicking and dragging a layer to a new position in the Layer Tree, users can alter its drawing order, thereby affecting its visibility in relation to other layers. This feature proves immensely valuable when arranging layer hierarchy and optimizing map composition.
Transparency Slider

Under each layer in the Layer Tree, you’ll find the Transparency Slider, presented as a horizontal bar with a pointer. This slider offers a quick and straightforward way to adjust the transparency of a layer. To modify the layer’s opacity, simply click on the slider and drag it left or right to the desired transparency level. Adjusting the transparency aids in balancing the visibility of multiple layers, facilitating the visualization of overlapping information.

The Layer Tree in yey’maps stands as a powerful tool that enhances the mapping experience, enabling users to manage and customize layers seamlessly. Understanding the functionalities of each button empowers users to optimize their mapping projects effectively. Whether it’s inspecting layer symbols, focusing on specific layers, modifying settings, rearranging layer order, or adjusting transparency, the Layer Tree offers unparalleled control, resulting in compelling and informative visualizations. Happy mapping!
